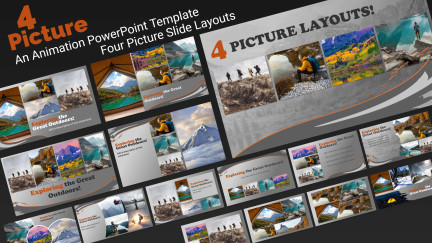
Four Picture Layout PowerPoint Toolkit
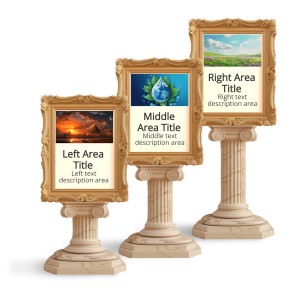
Elevate your presentations with our versatile Picture PowerPoint template. Featuring sleek designs and four image placeholders per slide.
Quickly edit online templates and customizable designs to create amazing creatives that come to life for PowerPoint, Google Slides, Social Media, Teaching, and Marketing Material.
New PowerPoint Templates
Use in Microsoft PP 2010 - PowerPoint 365. Need Google slides Templates? Download a PowerPoint template and open it in Google Slides.
We provide premium animated PowerPoint templates, customizable graphics, and designs to create outstanding presentations every time, in way less time.
"PresenterMedia provides me with the ready-made tools to take my PowerPoint presentations to the next level. I get nothing but compliments for my creativity and innovation when it's really your product that is earning the praise. Thank you!" Teresa G
*All Online Customization Tools are Included when you sign up! Try Free!
There are no additional fees and no monthly limits.
Also, videos work great for social marketing posts, advertising campaigns, and video projects.
"I don't pay for many graphic libraries but always renew and recommend PresenterMedia because they have customizable and animated graphics and powerpoint templates that are beautiful and often animated. The graphics always make such an impression!" Jody P.

*All Customizers Included in Subscription! - There are no additional fees and no monthly limits.

We are a small business in the United States, started by four visionaries on a mission to make presentation design easier than ever. Learn more about us here.

If our products don't help you better create standout designs, then tell us why not, and we will refund you (100% Money Back Guarantee)

OMG this is one of the most amazing sites, lets me save time and allows me to bring my training material to life. Thank you for keeping this site current and utterly awesome!!!
PresenterMedia is the best in the business! If you want engagement and excitement from your audience, I highly recommend their animated templates.
Love using Presenter Media for work and personal projects, I am always receiving comments and praise on the content and quality! Thank you!
This media has transformed so many of our eLearnings and presentations. It is so simple to use and the content always has just the right images, animations, or templates. Awesome!
This is the one subscription service I always renew. If you want to liven your Powerpoint presentations, you need this.
Working in a university, the ability to create customised graphics quickly is really important and gives the impression that a lot more work has been put in than actually has. An avid fan.