Up to 50% OFF
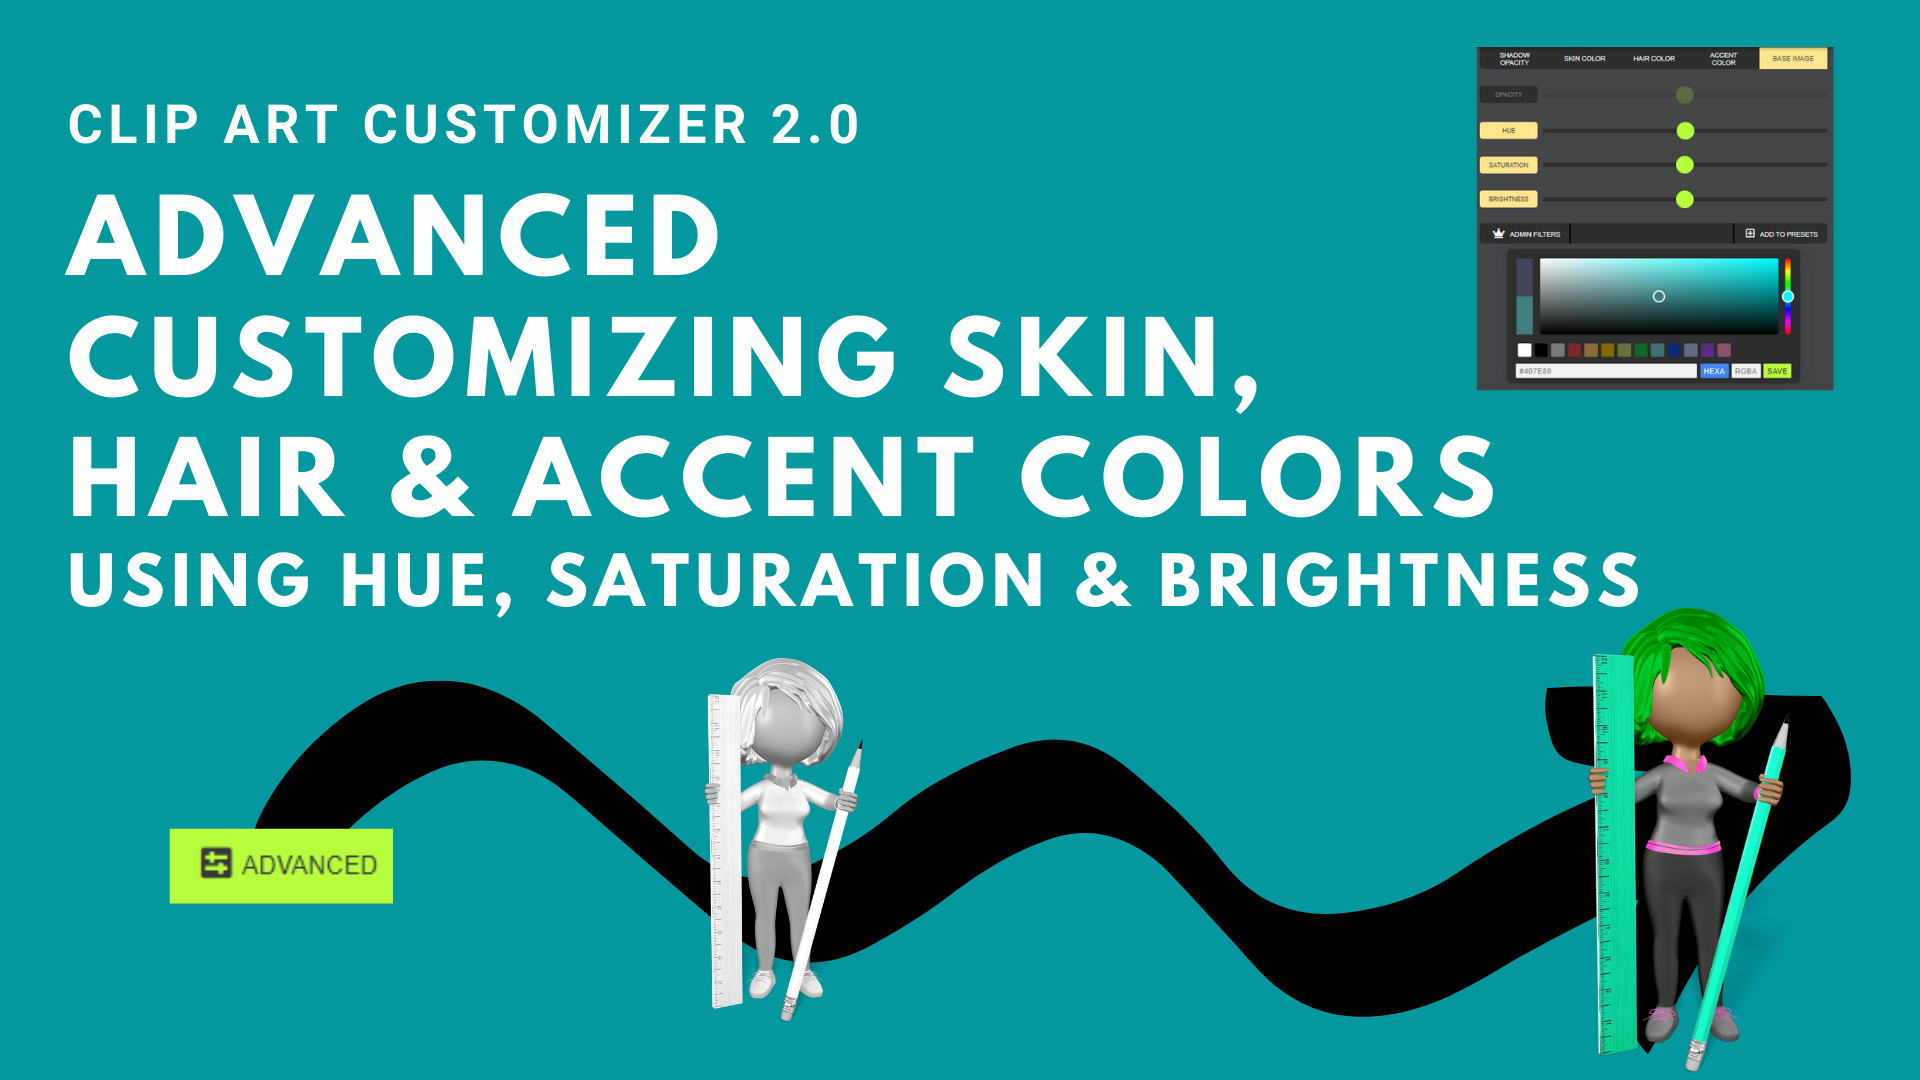
We are so excited to announce our latest clip art color customizer for our customers. The updated customizer allows customers to change skin tones, hair color, accent color, shadows, and opacity. This feature will initially launch on all of our newest items. In time, we will add this to our older images as well.
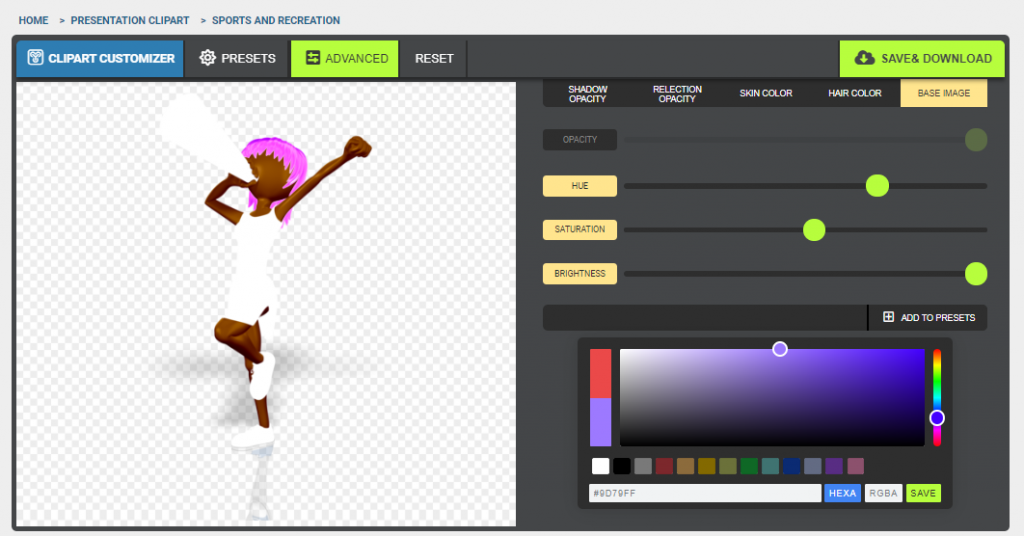
For our advanced users, we have enabled an advanced tab. This allows you to further customize using hue, saturation and brightness. The following tutorial will address each of these features in fuller detail. For the below image, we are using the Cheerleader Megaphone image link here.
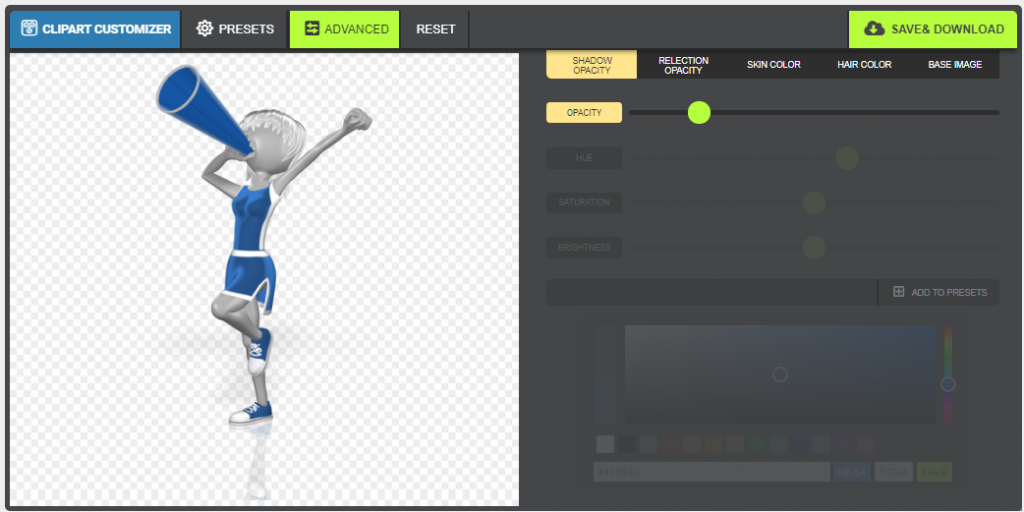
The shadow on our clip art images can be adjusted to show up lighter or darker using the Opacity slider on the Shadow Opacity advanced toolbar.
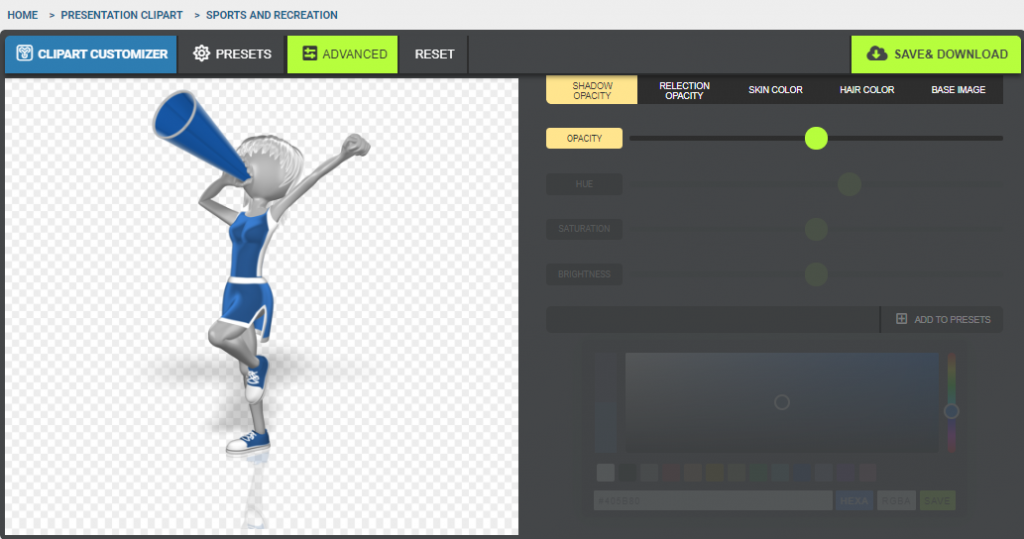
Notice in the image above, the opacity is in the center of the slider. By moving it to the left, we brighten the shadow behind the cheerleader.
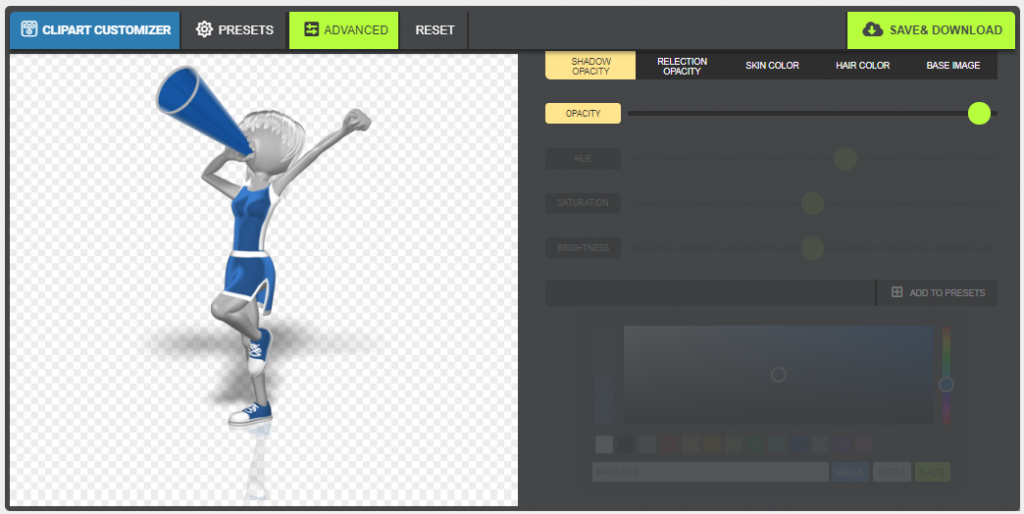
Likewise, by moving to the right, we darken the shadow area.
Next, we'll take a look at how the customizer can impact the reflection of the image. We'll switch to a red accent color to help separate these two areas of specialty.
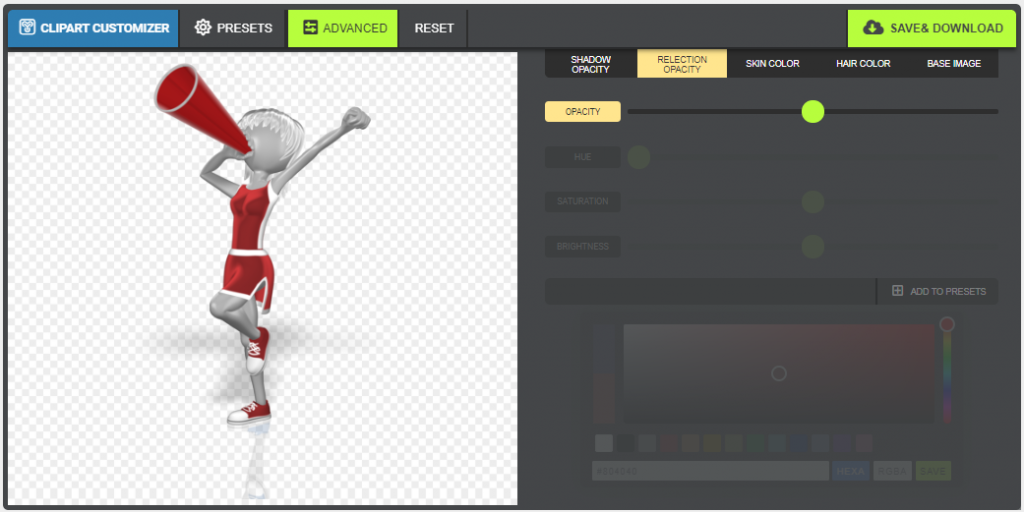
Notice the reflection showing below / in front of the cheerleader as the slider is in the middle. Let's move the slider to the left to show the reflection's opacity lighten, reducing the amount of reflection.
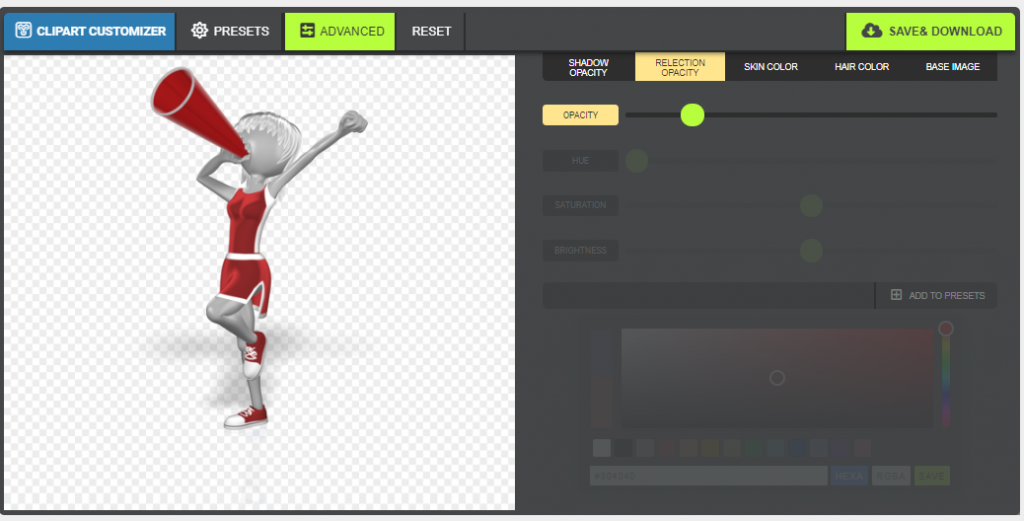
As above, we will now darken the reflection opacity so you can see how dark a reflection can appear.

Next, we'll get into the meat and potatoes of our update, the skin tone color customizer! Let's change our cheerleader into something green and get started.
Skin tone will start out the same color as the thumbnail, or gray in our case.
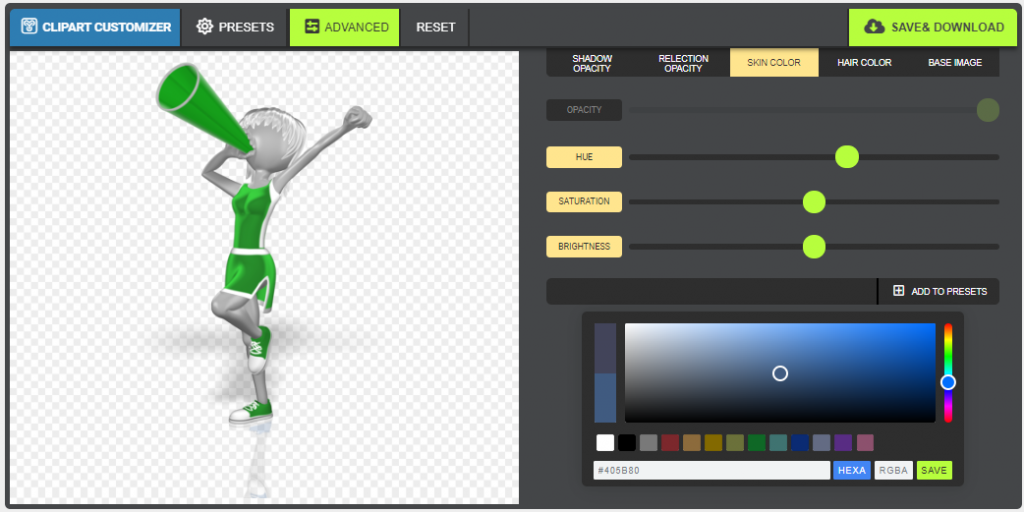
You can start with preset skin color or the default gray. Begin by clicking on "Skin Color" at the top center of the customizer. Select the hue you'd like to use for the skin tone., then modify brightness and saturation either by using the sliders or clicking anywhere in the color picker window.
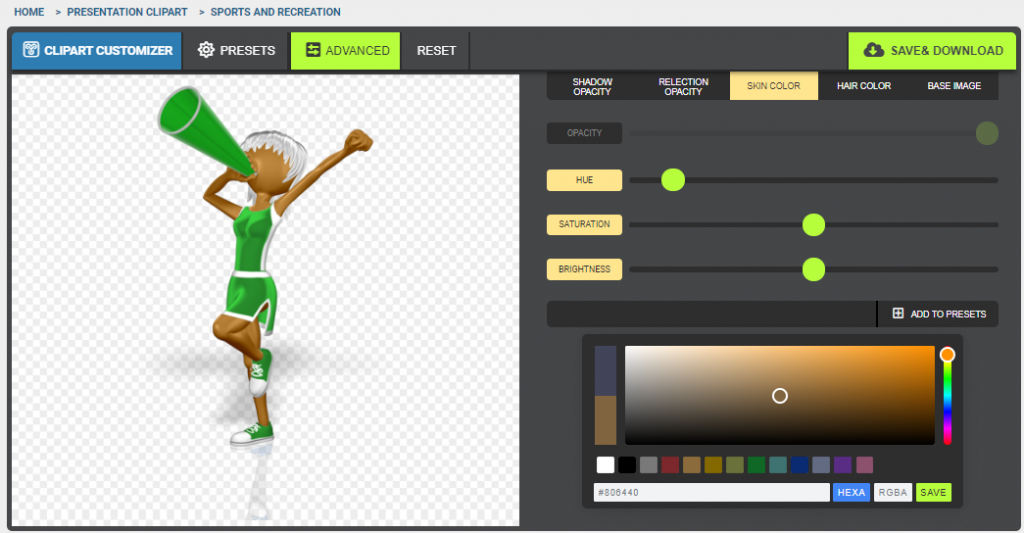
Notice that although the image changes "color" the hue doesn't change. That's because the saturation and brightness are being adjusted to get the image to match.
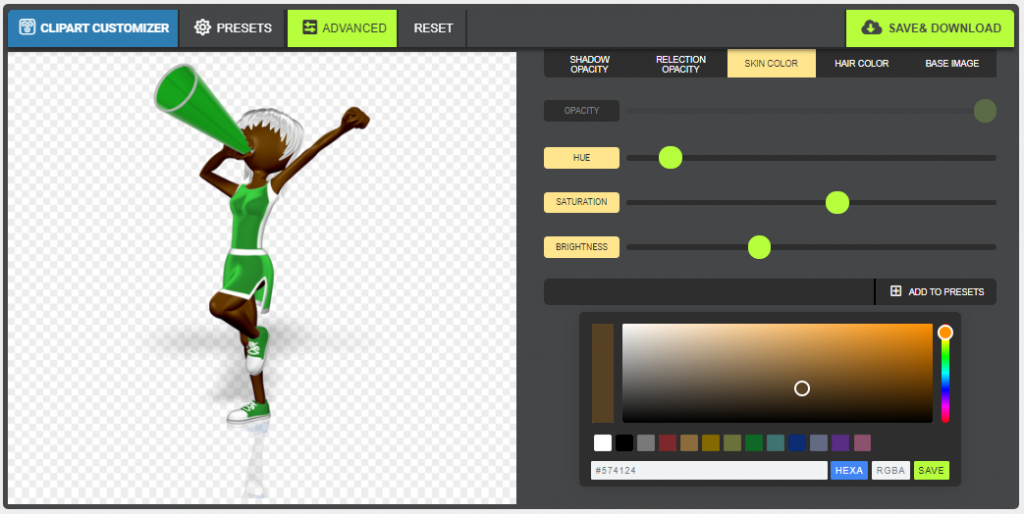
Once you have the skin tone set, you can move on to the hair color or accent colors (labeled Base Image), or click "Add to Presets" to save this color scheme to your Presets tab. We'll move on to hair color in this tutorial.
When changing the hair color, the same options apply as changing the skin color. Simply select a hue, then chose within the color picker or sliders to customize the finished color. For traditional hair colors, the preset options include blond, brown, red, and black.
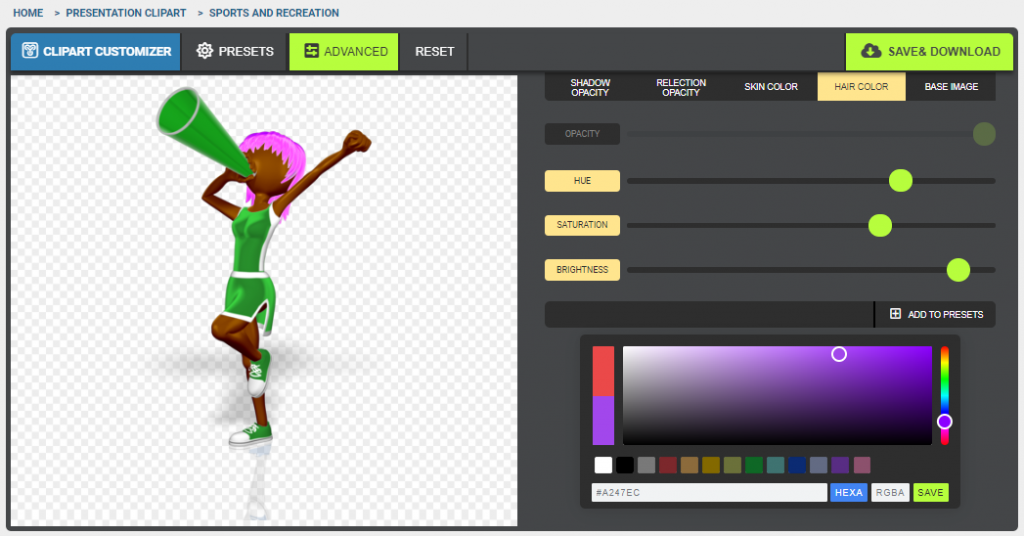
Again, you can click "Add to Presets" if this completes the image you wish to use for the clipart item. Lastly, we'll look at the Accent colors, otherwise known as "Base Image".
This is where the magic really happens. Not only can you change the color of the accents, but you can also remove the brightness altogether, or increase to maximum, ending with an image of entirely black space (empty) or white space.
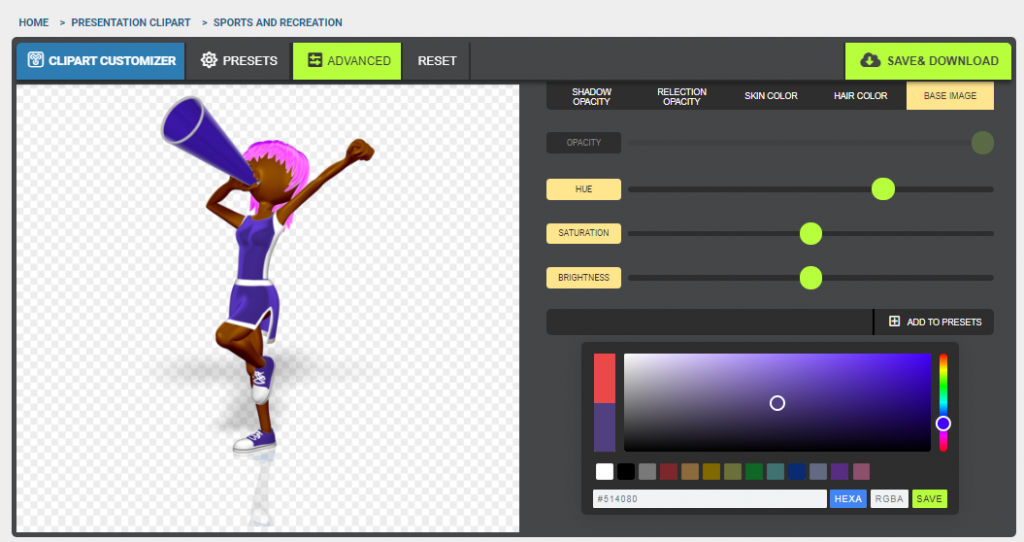
Changed from green to purple by adjusting the hue
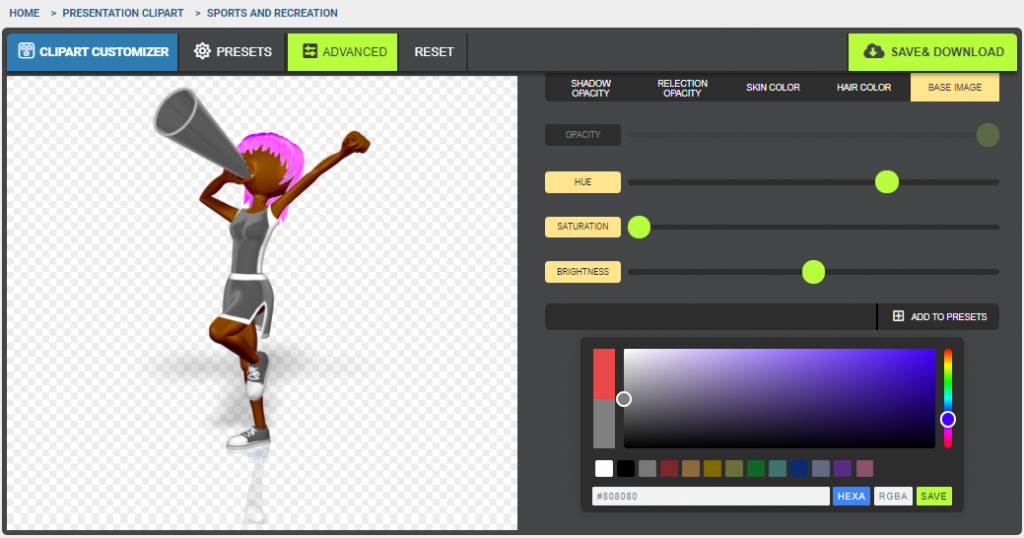
Reducing saturation to 0% results in complete gray accents
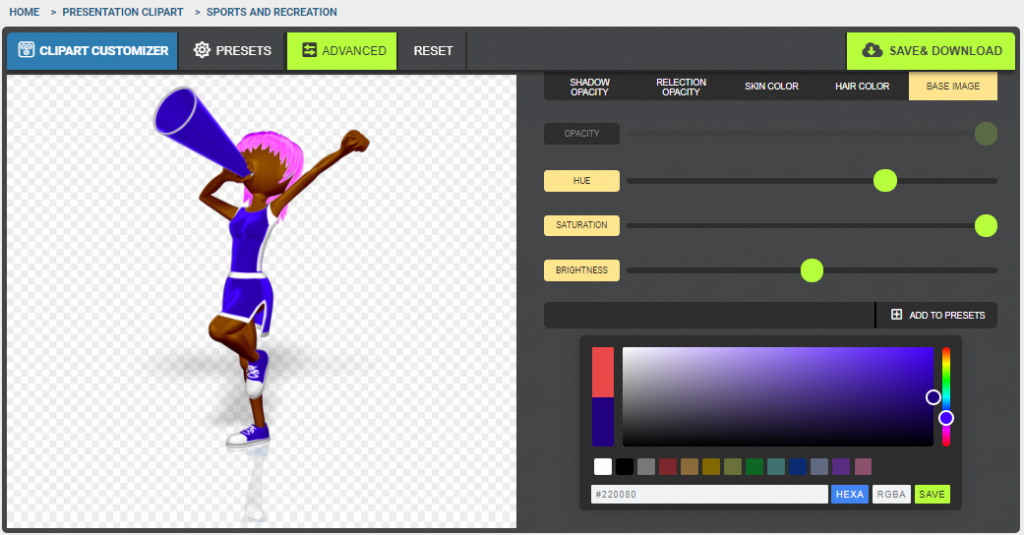
Increasing saturation to 100% results in a dark color
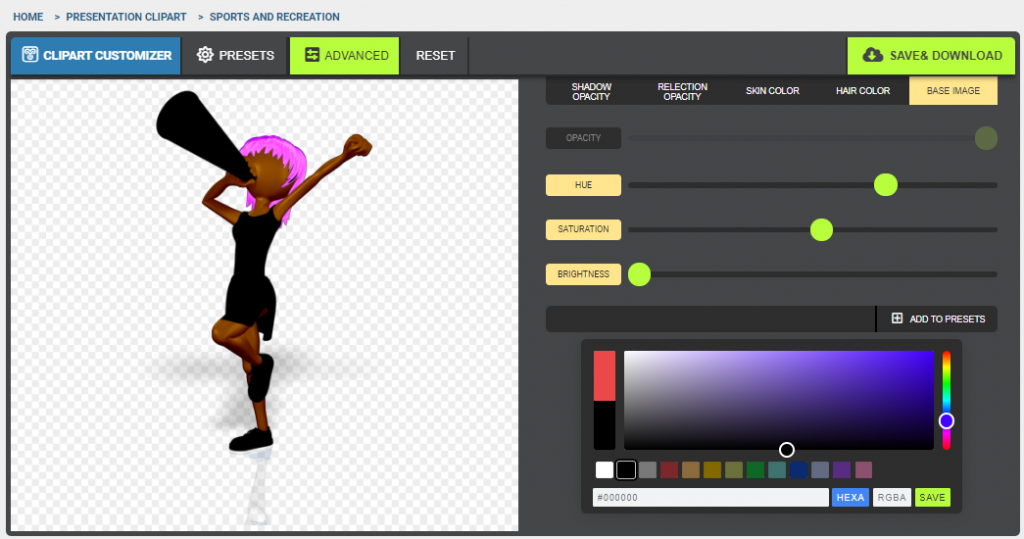
Reducing brightness to 0% results in a completely black silhouette of all accent items
Increasing Brightness to 100% results in completely white space of all accent items.
Finishing up
Once you've created the perfect combination of colors, you have a few choices to make. Do you want to just download the image? Download it but also save to your PresenterMedia gallery (My Media)? Or would you like to SAVE this color collection as a preset that you can then apply to other items?
By clicking "Add to Presets", the color options in each category you just created will be saved on your Preset tab for future use of other items (hair/skin/variations are each individual presets). First, when you click on "Add to Presets" you'll see a pop up asking if you want this to save to your PresenterMedia Preset options.
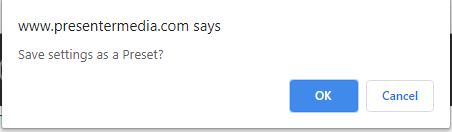
Clicking on OK will save these choices to your library once you've clicked the "Save and Download" button at least once.
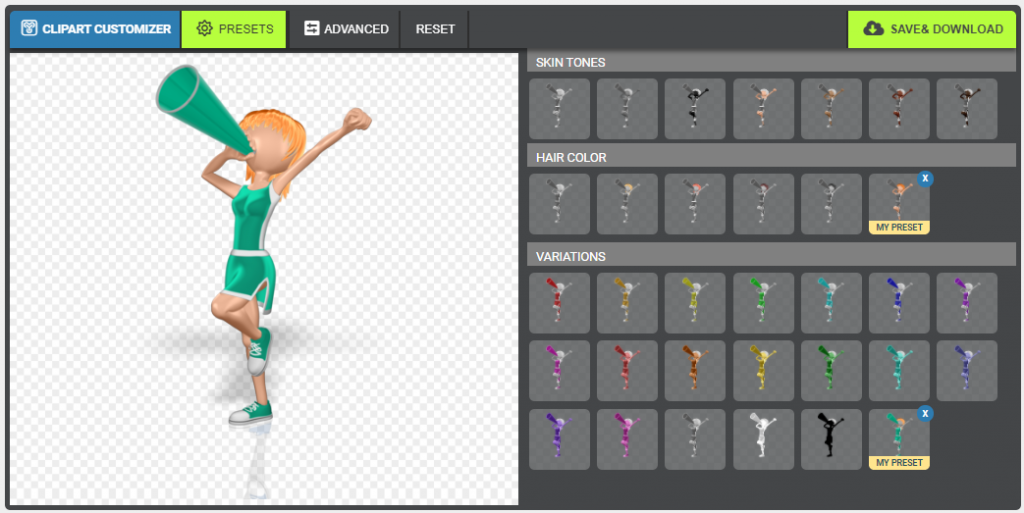

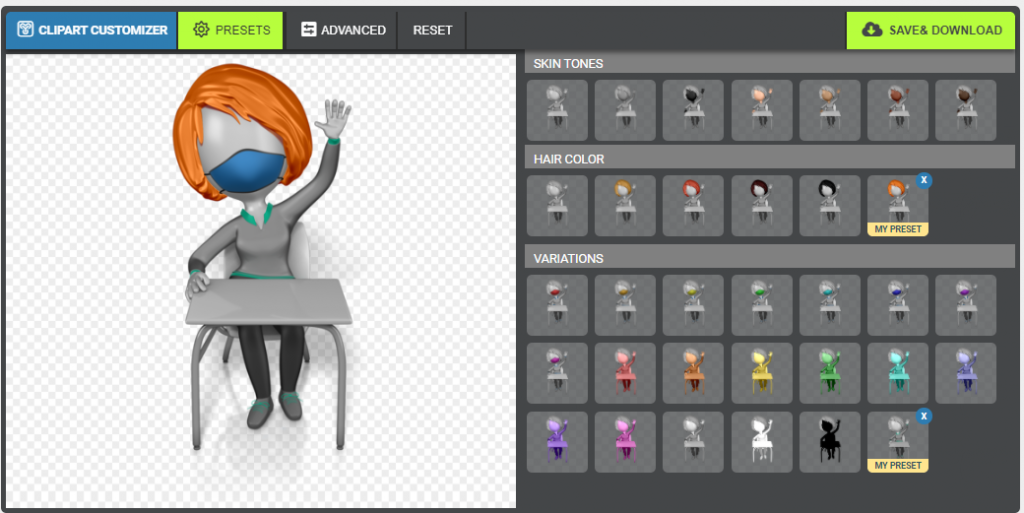
Then, if you go to another image, you can see the same preset option under each section (skin/hair/variations).
When you're ready to download the image, click on "Save and Download" in the upper right corner. You will be given two options: Download (saves only to your computer) or Download & Save in My Media.
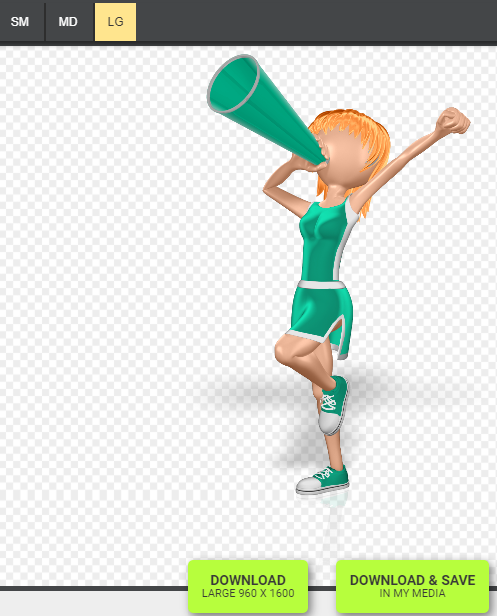
Clicking "Download" will save the file to your preferred destination.
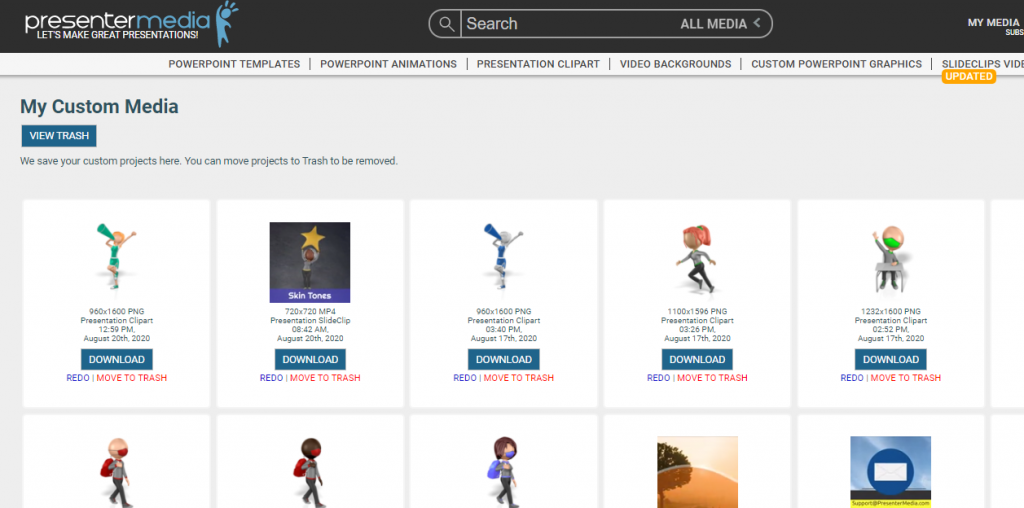
Download and save in my media will save the file to your preferred destination, but it will also save it to your My Media link in our website.
Be sure to check out our basic tutorial for using the preset options if this seems a little more "nitty gritty" than you are prepared for. And be sure to check out our YouTube announcement and tutorials on using this newest customizer as well!


© 2009-2025 Eclipse Digital Imaging, Inc.
Quality PowerPoint Templates, Animations, videos, and 3D Clipart.
PowerPoint® is a registered trademark
of Microsoft Corporation.