
How can the PowerPoint animation painter make your life easier?
So the saying goes, work smarter, not harder. This saying stands the test of time, and when applied to any situation, you will save precious time and energy. This blog tutorial explores how the animation painter in PowerPoint will make that saying come true as you create and reuse Animation in PowerPoint.
Looking for a time-saving way to start your next animated presentation? Explore our PowerPoint templates to find animated slides ready to customize and present.
Animation is Awesome!
I'll start by saying I love animation, whether animating 3D characters, elements or animating in PowerPoint if I find them both fun and challenging. But, I know that animating is time-consuming. So, finding tips for making animating easier, I will take it with open arms and share the knowledge with you.
So enough talk about how you're going to save time; let's dive into how the animation painter in PowerPoint works and start saving time.
1. Start by Downloading the Demo Template
First things first, open up Mircosoft PowerPoint. For this tutorial, I downloaded an animated PresenterMedia PowerPoint template to explain how to use the animation painter.

We will use the title slide from this template, which you can download below to follow along.
Download this PowerPoint demo template to follow along
Using this or any of these animated templates will allow me to save time and skip over the animation process.
2. Duplicating a Slide and Removing the animation
Follow along from here; this is the start of the how-to part of this PowerPoint tutorial. The number refers to the separate sections of this tutorial. Any letters refer to sub-sections inside the main numbered areas.
You can view this short video to follow along with me as I transfer the animation from animated elements. If you would instead follow the written tutorial, continue below.
Click Here to Download Follow Along Slide
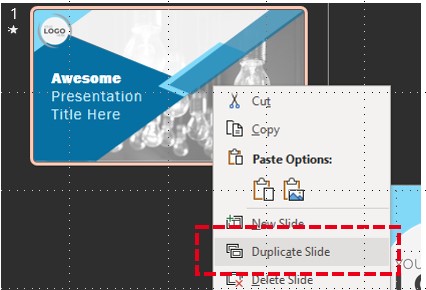
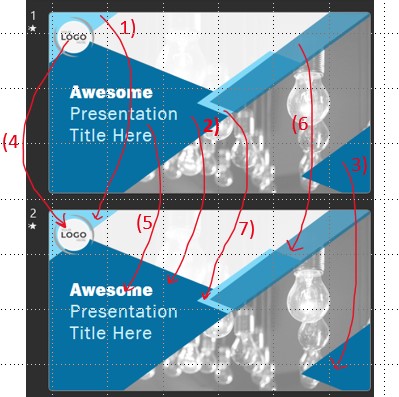
(A) First, let's duplicate a slide and remove all animation from that slide. Frist, right-click on the slide thumbnail in PowerPoint, and you get a dropdown menu. Choose Duplicate Slide from the options.
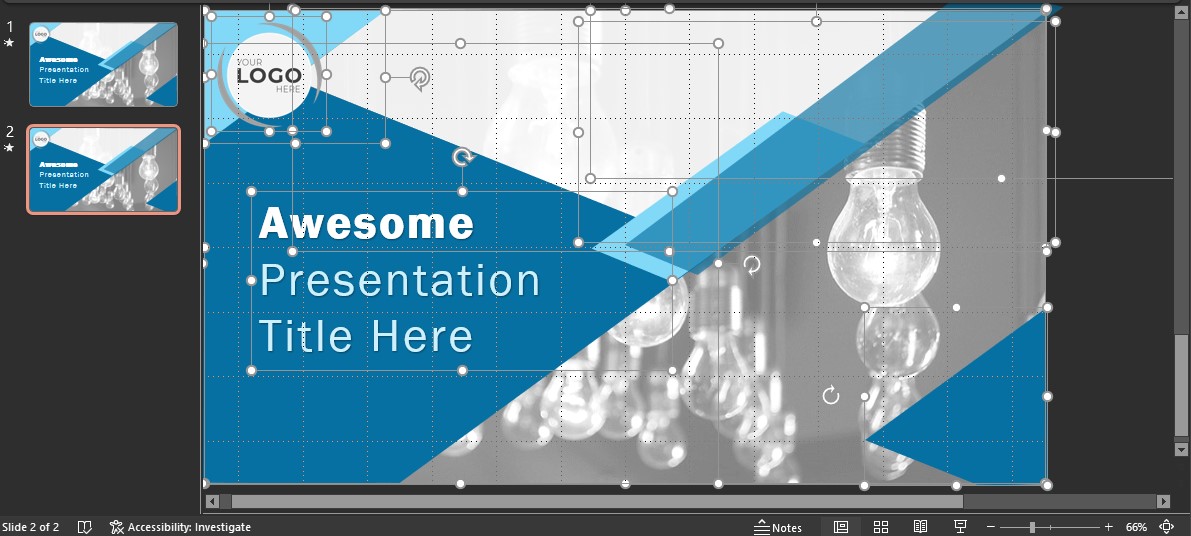
Now, to select all elements on the new slide, click on any graphic element in the work area to select it. Then, press ctrl and a together on the keyboard; this keyboard command will select everything on the PowerPoint slide.
(B) Then, with everything selected on the slide, go to Animations in the top menu.
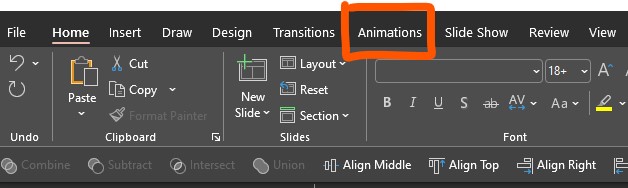
In the animation options, select none from the presets. Doing this removes all animation from the elements on the slide.

3. Copying Animation from One Element to Another
(A) Okay, now we will use the ANIMATION PAINTER to copy the animation from the original slide and add it back to the duplicated slide.
A. Go to the first slide containing all the animated elements and select an item from the slide work area. I will start with the logo placeholder.
![]()
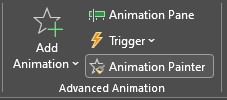
Now, go to the far right of the animation options with an animated element selected and choose Animation Painter.
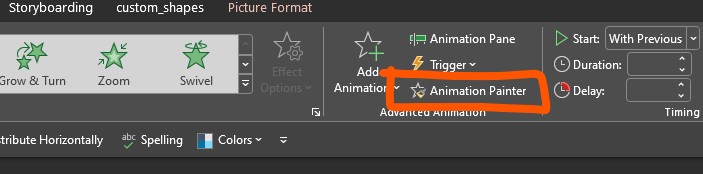
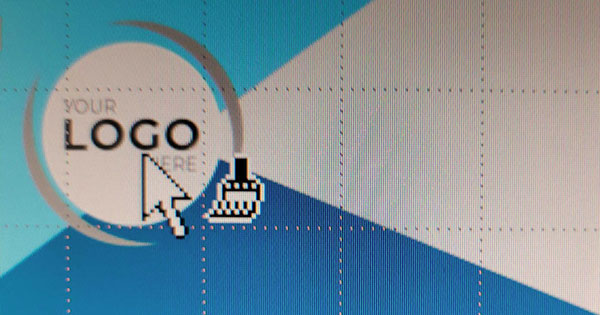
You will know the animation painter is active because the selection will stay around the button, and your mouse cursor will show a paintbrush.
B. Now, go to the logo placeholder on the second slide to copy the animation and click on the element. The animation is transferred to the new element, and if you play the slideshow, you will see it animate.
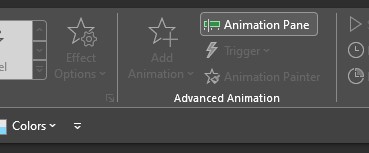
Open the animation pane, which is in the options when you select Animations from the top menu.
As you paint the animation for each element, you will see the animation appear in the animation pane in the order you paint them.
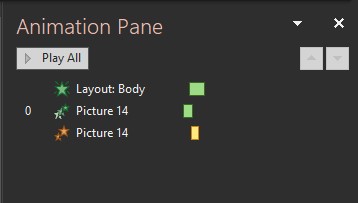
You will see an animation still leftover in the animation pane for the Layout: Body; this is for this slide's animated background light bulb image. The animation on this picture element was not removed because it is located in the slide master. Click here to find out more about using the Slide Master in PowerPoint. If you choose not to view this Slide Master tutorial, that's completely fine; continue down the tutorial.
4. Welding your new-found Animation Painter Knowledge.
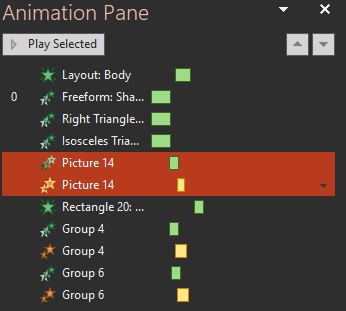
Okay, now that you know how to copy animation from one element to another, go ahead a try copying all animation from Slide 1 to Slide 2. Note, it does matter in which order you copy the elements. We started with the logo placeholder, but this isn't the first animation in the Animation Pane list. As you can see the placeholder, which is labeled ( Picture 14 ) is half way down the list of animations.
To get the animation in the same order as slide 1, start by deleting the animation from the placeholder on Slide 2. Do this by following Section 2 part (B) instructions at the blog's beginning.
Then, with the Animation Pane still open, go to Slide 1 and find the first element under the Layout: Body. It will be called Freeform: Shape 23.
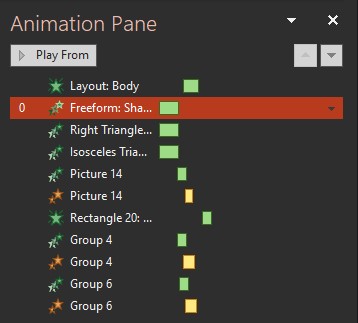
Now, go back to section 3 (Copying Animation from One Element to Another) and copy each elements animation from Slide 1 to the same element in Slide 2, following in order down the animaton Pane.
Bonus Animation Painter Tip!
You can activate the animation painter button in two ways.
(A) The first way is by clicking the button once. Doing this will allow you to add the animation to only one item.
(B) However, clicking the button two times will activate the always-on option. This option will enable you to copy the animation to as many elements as you would like. Then, to turn off the animation painter, click the button again, or click off the work area.
Well, that's a wrap for this animation painter tutorial.
I hope the techniques we looked at in this tutorial will quickly help you create animated slides. Find many more Animated PowerPoint templates to use or copy animation to an existing presentation using the animation painter.


Blog Comments (Sign In to Comment):