
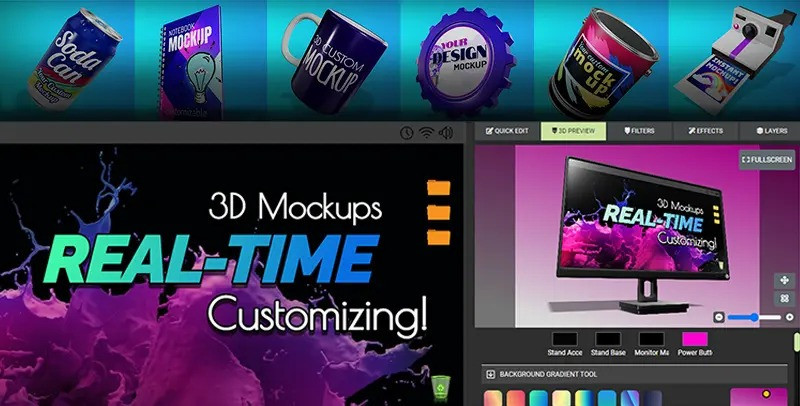
Tutorial - How to Use the 3D Graphics Maker to Customize Designs
Learn how to Make Awesome Creatives with the PresenterMedia 3D Graphics Maker.
Follow this tutorial below to read about using our online 3D Graphics Maker App, or find a video tutorial included at the end of this tutorial.
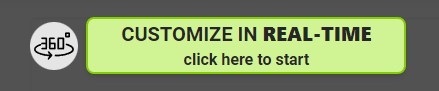
You can assess all the customizable 3D designs by going to the website's top navigation and hovering your mouse over the custom graphics category. In the drop-down menu, click on the 3D Graphics Maker option. Then, choose an item you would like to customize. Once you select an item, click the big green button: Customize in real-time. Click 3D Graphics Maker from here to get started customizing.
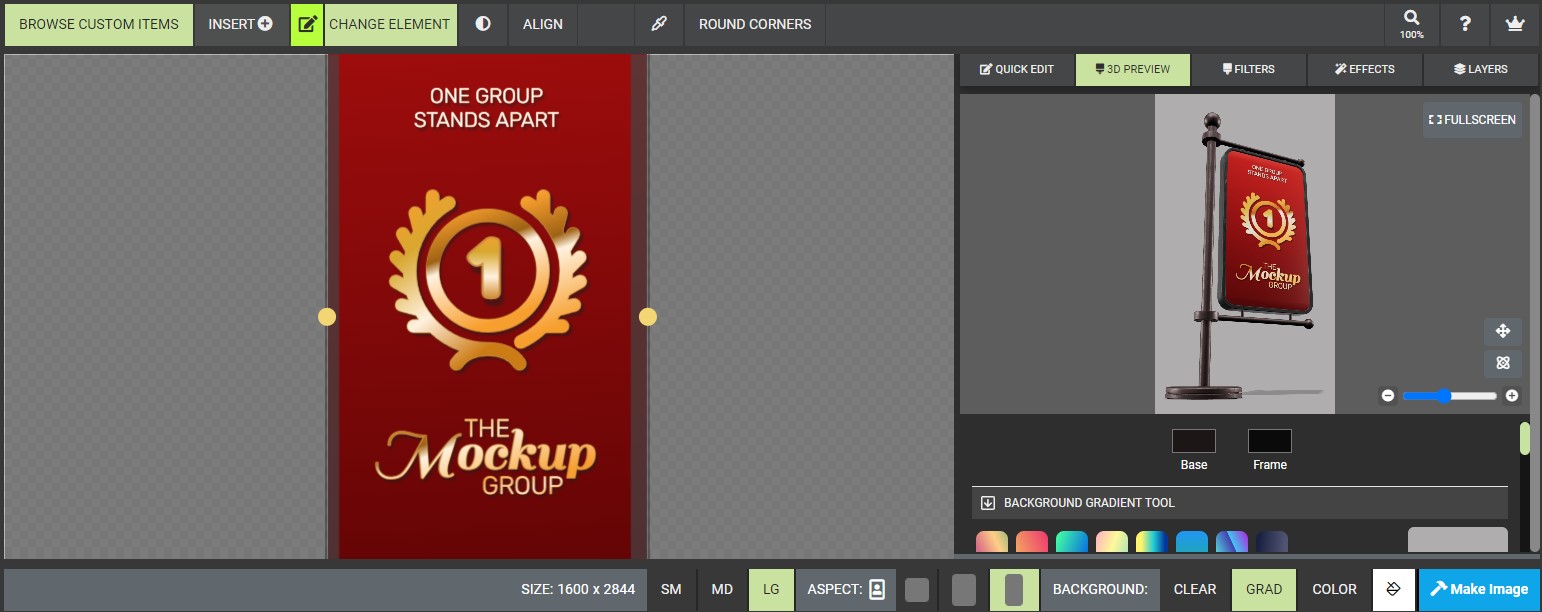
Once you open the customizer, you're greeted by this layout. If you have used our second-generation customizers, this interface will have a familiar look, with the design area on the left and a preview and tabs on the right. But let's take a look at what is new.
Changing the Color of an Object
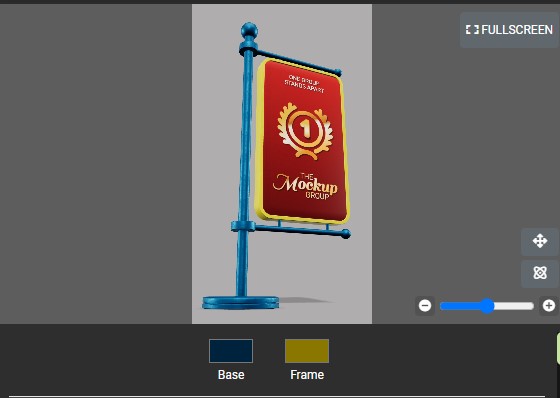
Under the 3D Preview window on the right side of the interface, you will see colors you can edit. These control the colors of the object in the preview, not the design area.

If you click into one of these colors by clicking on the color above the title, you will get a color changer where you can select a new color. The change will happen in Real-Time when you change the colors. You can see below that I have changed the colors, which are now reflected in the preview window.
Changing the Background Gradient
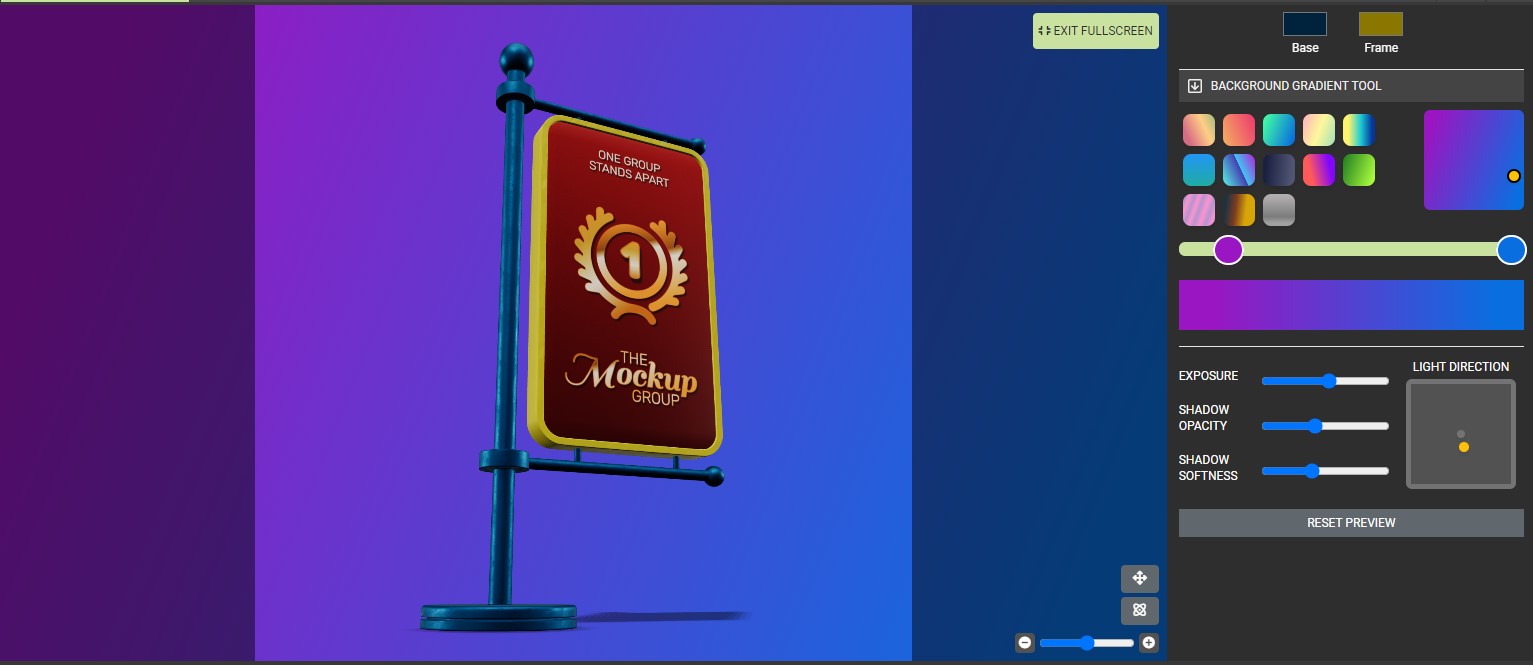
If you look on the right side of the colors, you will see a scroll handle. Use this handle to scroll down and stop at the background gradient tool.

This tool allows you to pick from several preset gradients on the left. On the right, you will find where you can change which direction the gradient is going.

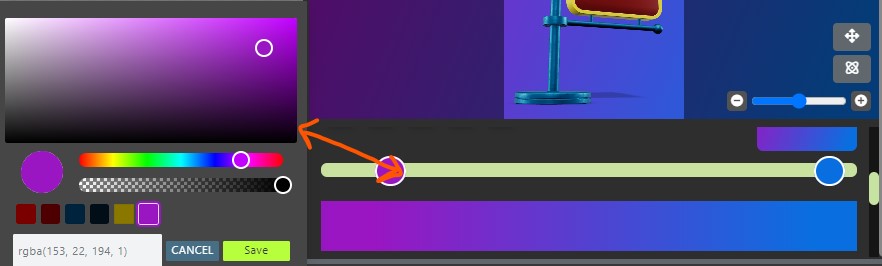
If you scroll down just a bit further, you will find more options for the gradient tool. Here you can choose custom colors by clicking the circles on the gradient bar and changing the color in the color chooser that pops up.
If you venture down a little further yet in the options, you will find options to control the exposure of the preview, which will raise and lower the brightness. You can also adjust shadow settings and even move the shadow by dragging the orange dot in the light direction box.
Resetting the 3D Preview Window to the Default Settings

Just click the Reset Preview button to reset the 3D Preview window to its original setting. Note - this will not reset your design area on the left, only the setting under the preview window.
Jumping into Fullscreen 3D Preview Mode
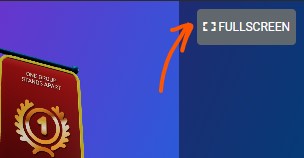
To make the 3D preview window bigger and view all your tools at once, click on the Fullscreen button in the preview window. To exit this mode, click the Exit Fullscreen button.
We will stay in this fullscreen mode and look at a few more options. You can use these controls if you position the element at a different angle.
There are two ways to reposition the element.
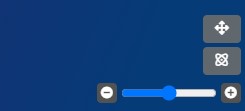
One, you can click and drag it inside the preview window. Use the left mouse button to rotate the preview and the right mouse button to move up and down. If you have a scroll wheel on your mouse, this can zoom in and out, or you can use the zoom bar in the preview.
Positioning the Object at a Different Angle
The other way to position the element is to use the two buttons just above the zoom slider.
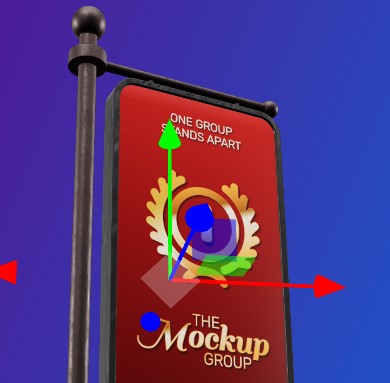
Once you select the top move button, it will glow green, and three colored bars will appear on the object. You will move the thing up and down if you click and drag on the green bar. You will move the object from side to side if you click on the red arrow bar. You will move the object forward and back if you click on the blue arrow bar. Click the button again to turn the move tool off. Then click the button right below that one.
Here is the rotate tool.
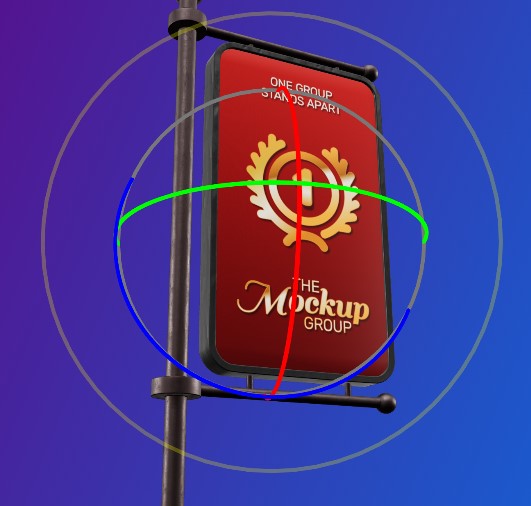
Once you select the rotate tool, like the move tool, you will get three rings surrounding your object. You will spin the object around if you click on the green ring. You can lean the object back and front if you click the red ring. You can tilt the object from side to side if you click on the blue right. To turn off this tool, click the button again.
Now, click to exit fullscreen mode. You will now see your design area once again. You can edit this design area text, add your images, and change the colors. You will see more on this these video tutorials below.
Video tutorial
Check out this 3D Graphics Maker video tutorial to follow along with me as we explore this customization tool.


Blog Comments (Sign In to Comment):