
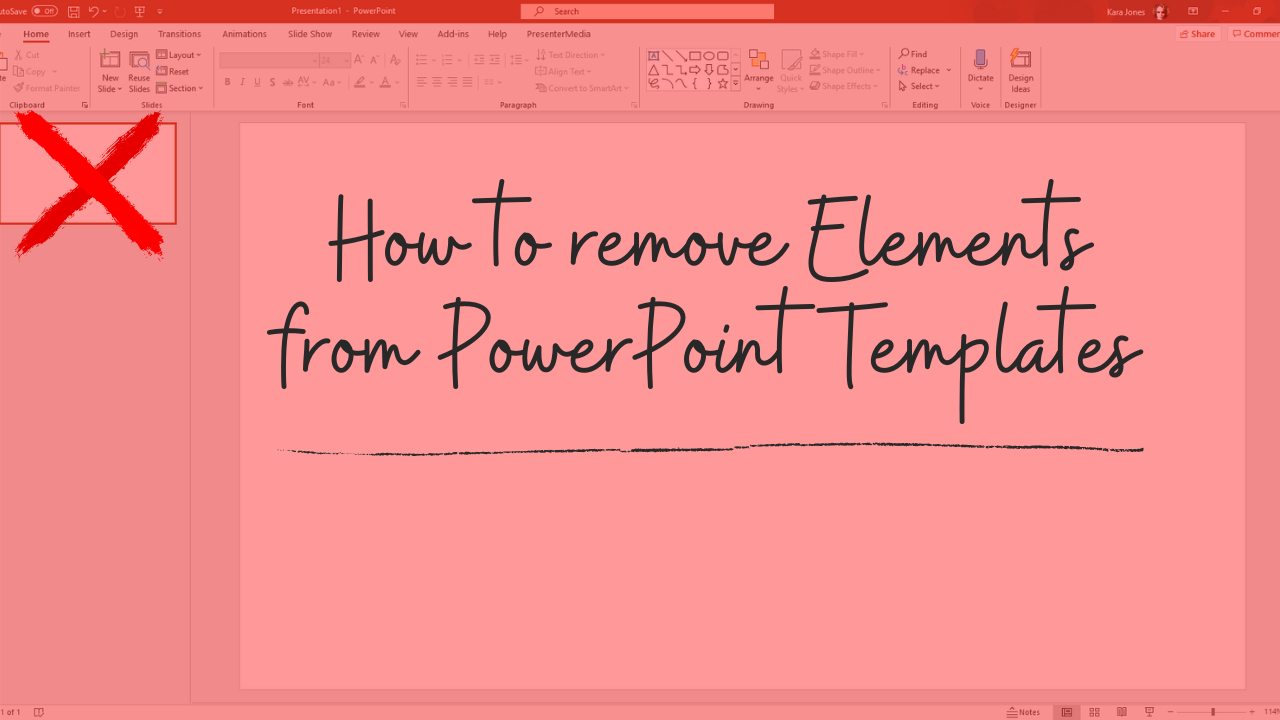
How to Remove Elements from PowerPoint Templates
Have you ever wanted to remove a piece from one of our animated PowerPoint templates? For example, remove the globe and keep the rest of the animation from this first slide, but keep the globe animation in other slides. Learn how to remove elements from PowerPoint Templates using Slide Master below.

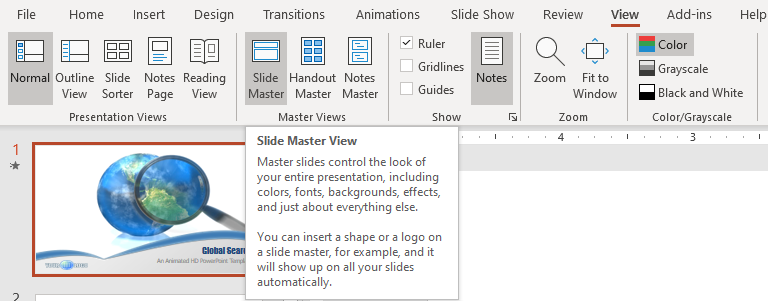
The animated PowerPoint Template used in this tutorial.
Download animated templates here.
This gives me an opportunity to better explain how the slide master feature works in PowerPoint.
The following tutorial applies to PowerPoint 2019 and 365 and addresses how to remove elements from PowerPoint Templates using Slide Master.
The Slide Master Explained
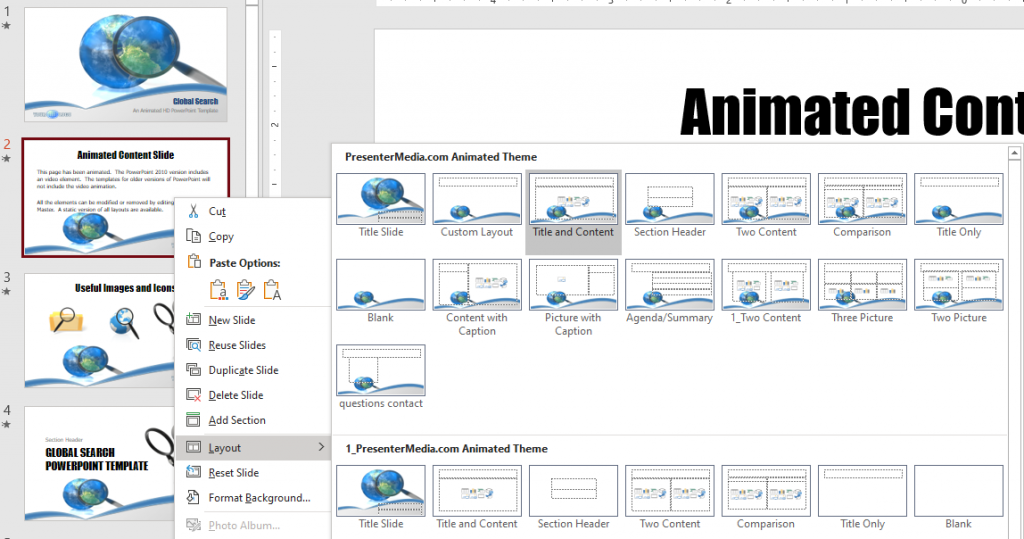
The heart of a PowerPoint template is the Slide Master. To view the slide master - choose View>Slide Master.
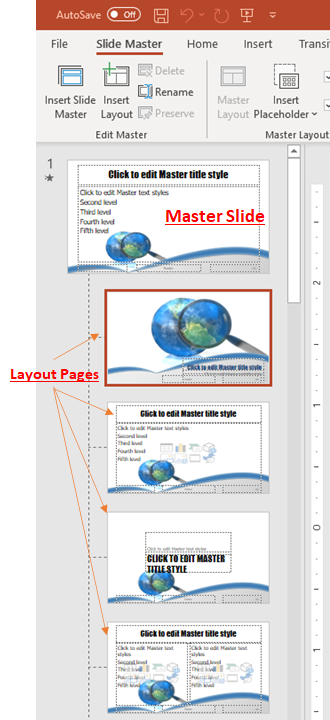
The Master slide controls all the default layouts and pre-designed slides included in our templates. Each Master can have multiple layout pages beneath it. You can have multiple Slide Masters, and each Master can have multiple layouts attached to it. This is similar to Headings and Subheadings in an outline.
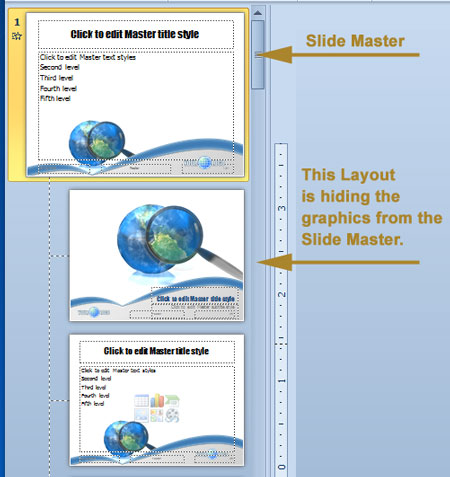
In the screen-shot below, the slide at the top is the Master, everything beneath and indented is a layout attached to the Master.
Adding and Subtracting Items from the Slide Master in PowerPoint Templates
An element placed on the Slide Master is copied to any layout page attached to the Master. There is a way to hide Slide Master graphics on the attached layouts. This will be explained later. If you remove the globe from the Slide Master, the top slide in the illustration above, it is also removed from all the layout pages of the template.
That's great if you don't want the globe to appear anywhere in the template, but the original problem was we wanted the globe animation to appear only on select slides, not get rid of it completely.
There are a couple of things you could do at this point.
Options
1. Cut the animation from the Slide Master and then Paste it into the individual layouts where you want it to appear.
Any element you place on a layout slide will only appear in your presentation when you choose that layout. This is fine, but if you start adding elements to the layouts, it can quickly get confusing where the final resting place for that element is. Is that picture on an actual slide, on a layout, or is it on the Slide Master?
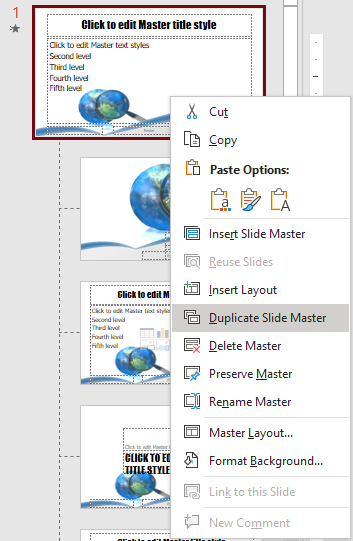
2. Duplicate the Slide Master
This is my favorite option. Because you can have multiple Slide Masters in your template, you can duplicate the Slide Master.
Choose 'Duplicate Slide Master' from the menu after you right-click the top of the Slide Master. With this new Slide Master, in our example, you can create a complete set of new layouts without the globe animation, and a complete set with the animation.
After exiting the Slide Master view, you have a completely new set of layouts available to you in the normal PowerPoint view.
Hiding Elements Used on the Slide Master from PowerPoint Templates
By deleting the globe from the slide master that the globe still exists on the Title Slide Layout. This is because the Title Slide Layout has its own graphical elements and all the elements from the Slide Master are hidden.
If you right-click on the layout you wish to edit, you can choose 'Hide Background Graphics". This removes all graphical elements from the Slide Master. In this example, a different version of the globe animation has been added directly to the Title Page Layout so the template has another look.
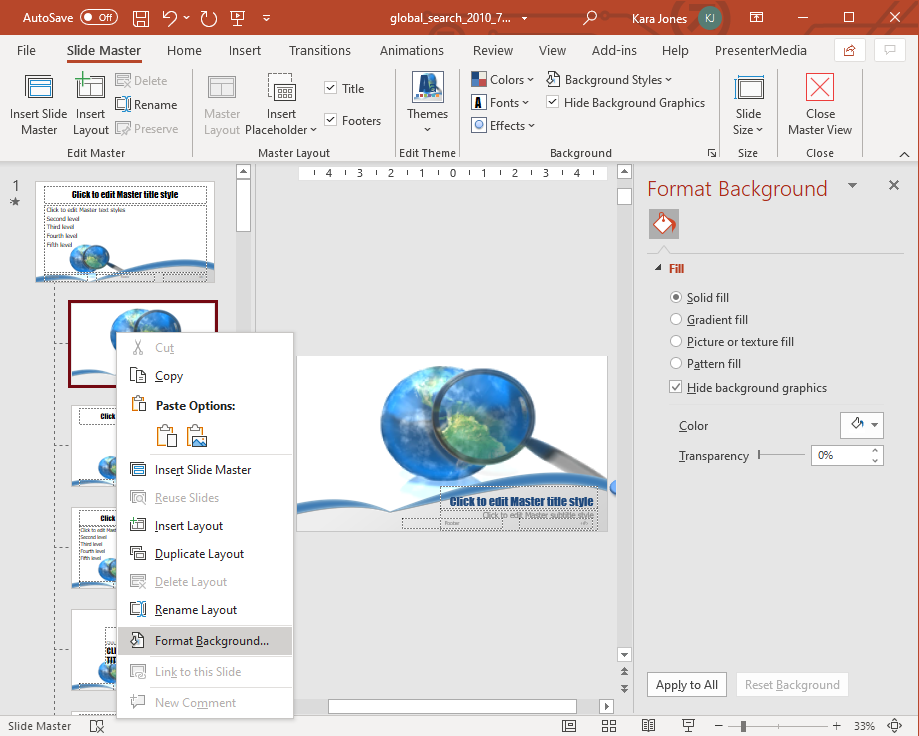
One note of warning, if you hide the background graphics you will need to copy and paste any images or videos you wish to continue to use directly into the layout you are modifying.
In Closing
Once you have worked with the Slide Master and its layouts a bit, they can get easier to understand. Remember when editing our templates, first start editing on the Slide Master. If you cannot change what you want on the Slide Master, then look at the attached Layout slides. If you still have questions, feel free to contact our customer support. Thanks for reading How to remove elements from PowerPoint Templates using Slide Master, check out our other blog posts below!
Happy Presenting!
Art Holden
How to delete a slide in Microsoft PowerPoint
PresenterMedia Blog - all the things!